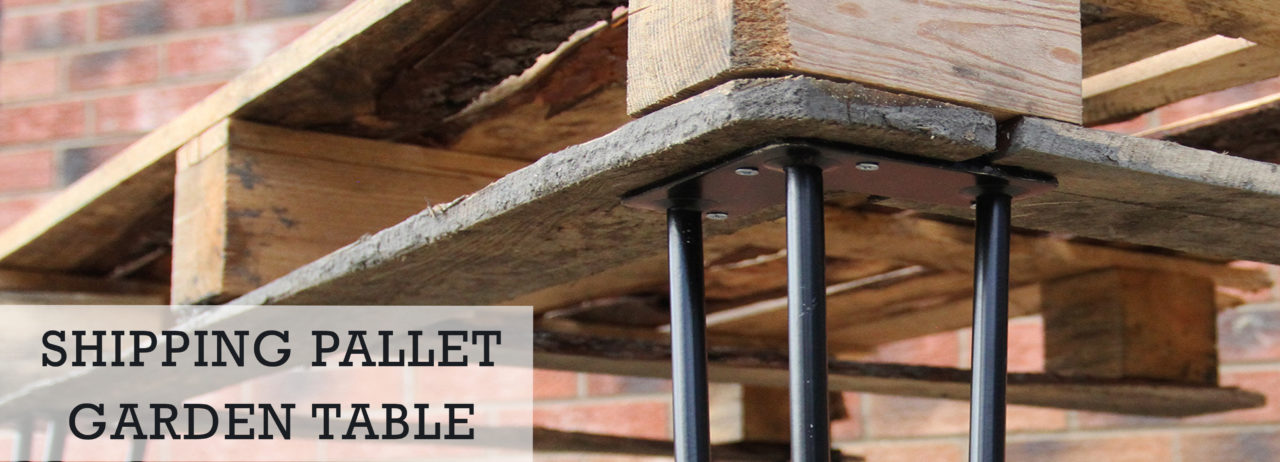
Create the perfect garden table with the help of SkiSki legs. Transform an old shipping pallet into a beautifully rustic table for an excellent addition to your patio.
Garden furniture can often be quite an expensive purchase, so using a second-hand pallet is a great alternative to keep the cost down. Using reclaimed wood is also a wonderful way to do your bit for the environment, so why let this wood go to waste?
This handy step by step guide will give you a helping hand for your project. Get creative with your pallet, using these instructions as a starting point for your design masterpiece.
What you will need
- Your set of SkiSki legs. Which colour will you choose?
- Shipping pallet- using a second-hand pallet is a great way to repurpose wood that would have gone to waste
- Drill
- Sandpaper- an optional addition
- All the screws you will need are included to make attaching your legs as easy as possible


Sanding Superstar
Get rid of any nasty splinters from your pallet by giving it a quick sand. If you are using a second-hand pallet, this will also freshen it up and even it out. There is also the option to paint your pallet for a smarter look.
Mark it out
Line up your legs and mark where you are going to drill with a pencil. To find the correct positioning, measure the distance between the edge of the pallet and your SkiSki legs. Complete this step for all 4 legs, to ensure they match.


Time to Drill
Drill holes into the places you have marked. Easy-peasy.
Attach your Legs
With all the screws provided this step couldn’t be easier, simply attach your SkiSki legs.


Job Done
Stand back and look at the beautiful table you have created. A job well done!
Bringing the outside in?
Making this outdoor piece an indoor statement? No problem! The provided SkiSki feet with Ski Glide technology are easy to attach and will keep your floors protected.


